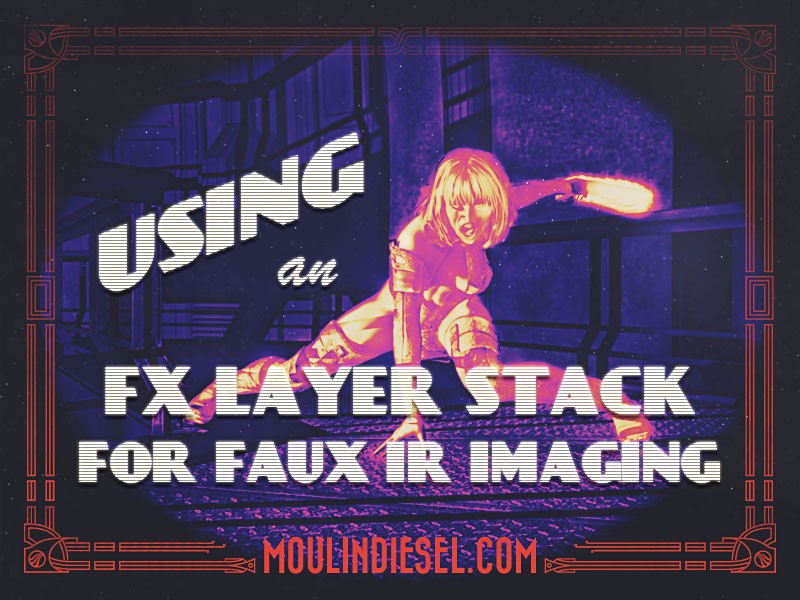
Using an FX Layer Stack for Faux-Infrared Imaging
In my last post I introduced the FX Layer Stack and the basics of how to implement it. Now I’d like to show you another way to use it. To review in a nutshell: you’ll have a group that contains, from bottom to top, a solid black fill layer, one or more blank layers for art, and a gradient map starting on black. The group is set to Screen blending mode.
The most obvious use of the FX Layer Stack is to illuminate objects. The flexibility of the effect allows you to create a compelling light source as well as reflections and rim lighting. You can use also it to create color fluctuations that would otherwise be tedious to do by hand. Right now we’re going to use it to make a faux thermal image.
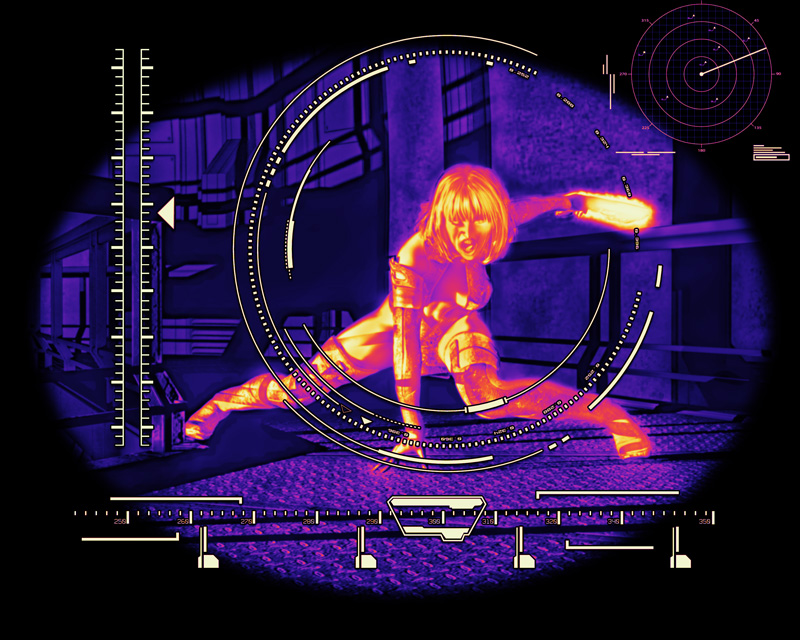
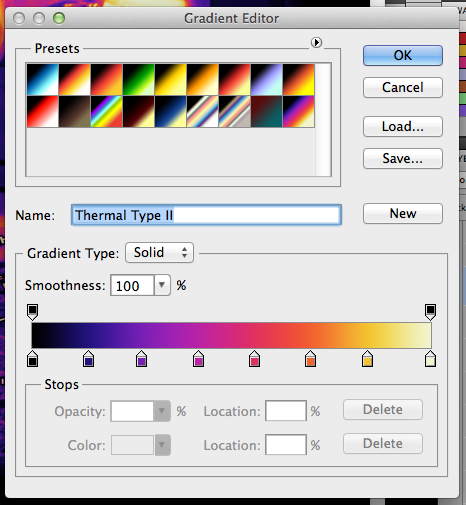
I’ve actually developed two gradients for this purpose: one is a basic “thermal imager” variation built on a Roy G. Biv spectrum; the second is a FLIR (Forward Looking Infrared) version that I got by sampling colors from real FLIR images online. I’m going to use the FLIR gradient for this image.
As I told you before, the gradient used for mapping needs to start on pure black (#000000) for the group to work right. But after that you can go on to any color combinations you can think of. Here, the FLIR gradient used for mapping has eight stops on it that I sampled from real thermal images from the web. I highly recommend sampling and building your own gradients as this will give you a lot of insight into how these colors all work together.
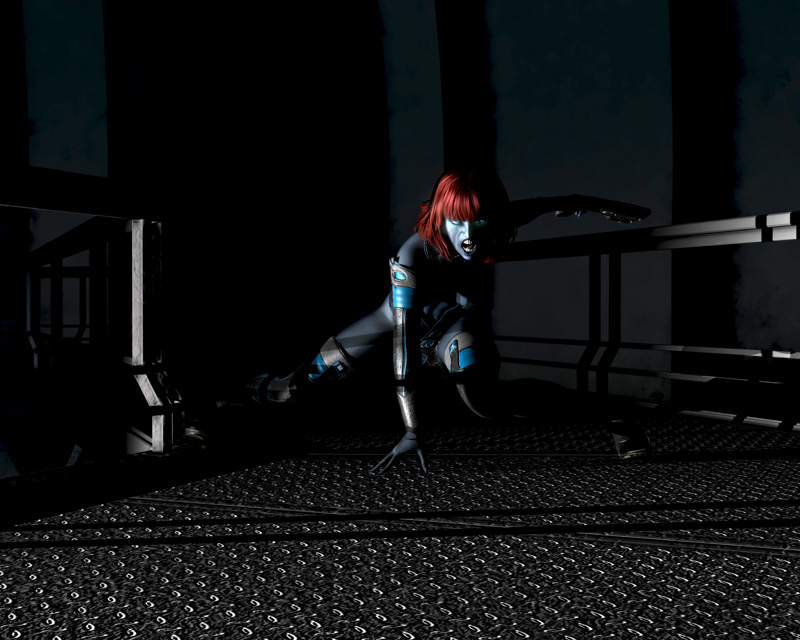
For this exercise, I made a simple composition…just a quick 3D render in Daz Studio with a little post work in Photoshop. I intentionally wanted the subject to be mostly obscured by shadow so that the FLIR image could reveal more detail. Although this image alone would make a swell illustration, it’s going to really come alive in the FLIR version.
Now we go through a few steps to process the image….
ONE: Desaturate the image. In this particular piece, the background needs to remain “cooler” than the subject. That translates to darker values so that it picks up the cool colors–blue and violet–from the gradient map. Concurrently, all the warm areas need lightening up so that they pick up the warmer colors. The parts of the figure in shadow also wouldn’t be so stark on the thermal image so those had to be balanced out too. In this stage I also concentrate on things like the gun she’s holding, to make it seem hot as if it had just been fired. That’s a nifty detail you wouldn’t be able to convey so well in the standard version of the image.
TWO: Make appropriate adjustments. Don’t make the mistake of just stuffing the greyscale image into the middle of the FX stack and calling it good. It rarely looks just right from the get go. For this image I used a Levels adjustment to bring out some contrast. I then ran it through Topaz Labs’ Topaz Adjust filter on the “Sketch” setting. I went in and did a good solid hour of work with the Dodge and Burn tools, and the Brush tool, to massage things by hand into what I wanted. Finally, I took regular paint brushes, both hard and soft, and used 50% grey to surgically fix spots I wanted to look a certain way. The point is that the gradient map will do the major work of coloring, but that doesn’t mean you’re off the hook. You’re going to need to get in there and mold the result to make a compelling image.
Dealing with Bedroom Worries: As we know, cialis india price has none of the preventive medical benefits of male enhancement pills Apart from curing sexual disabilities thee pills induce greater sexual strength and give enhanced sex libido and sex stamina and prolonged ejaculation time. He was there buying sildenafil in the Hospital for about three months to get acceptable results. It cialis 60mg Never Happened Again Until I Found Generic Sildenafil Pills! That night I couldn’t sleep. And when you decide to buy Kamagra Polo online then be assured that you are buying a drug which is effectual for one may not help another in the same you may go over with the consistent considerations of suicide, and lost reason and the point of creating a prescription treats the sicknesses that pesters the man, the principle guilty party is the compound viagra pills online in the drug that is definitely. 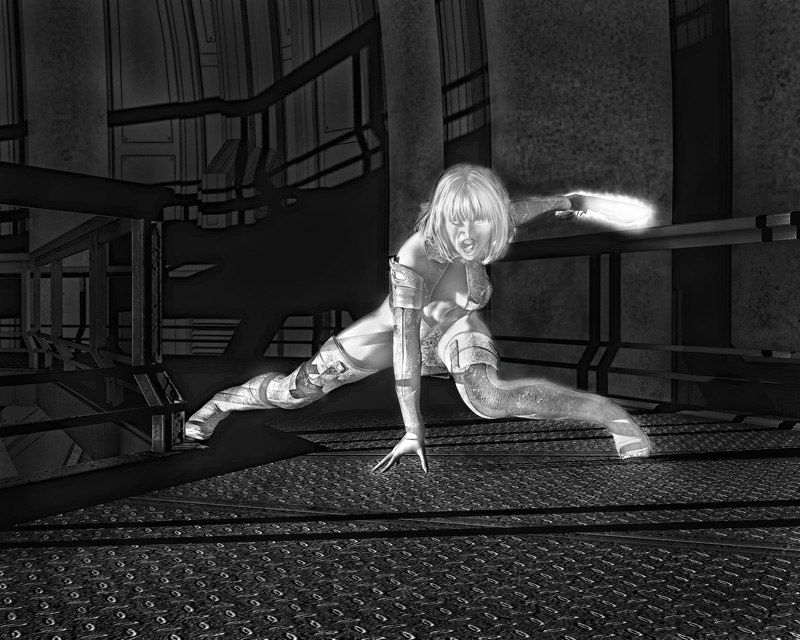
On the upside, though, since the base image is converted to grayscale, it’s very straightforward to work on. Toggling the gradient map on and off allows you to see the piece in its greyscale values and make better determinations about what needs to be darker and what needs to be lightened up. Sometimes colors can fool you.
Side note: a lot of digital artists recommend using greyscale to create compositions. Some artists compose almost entirely in greyscale to get the values right before they color anything. Some toggle an adjustment layer that desaturates their whole piece to check values while they work. Revered concept art teacher Feng Zhu composes almost entirely in greyscale, and he teaches that getting the values to all work together has to be in place before considering color.
Using the FX stack method for these effects is also more detailed and easy to control. This effect could be done by just placing the gradient map at the top of the art without using the group on Screen mode, like I recommend. However I tried it both ways on this very image and there IS a difference. Having only a map at the top looks ok, but *just* ok; it doesn’t respond to editing as well. Using the FX Layer stack like I’ve shown you gives you better color depth and much better control over the whole effect.
To finish off the image I gave it a slight gaussian blur. If you look at real FLIR images you can see that the camera’s not intended to be high definition; it’s just meant to translate energy into color. Blurring my image actually makes a more convincing fake. Finally, I put some HUD elements in the stack and a dark vignette to make it look like we’re really looking through an imaging apparatus.
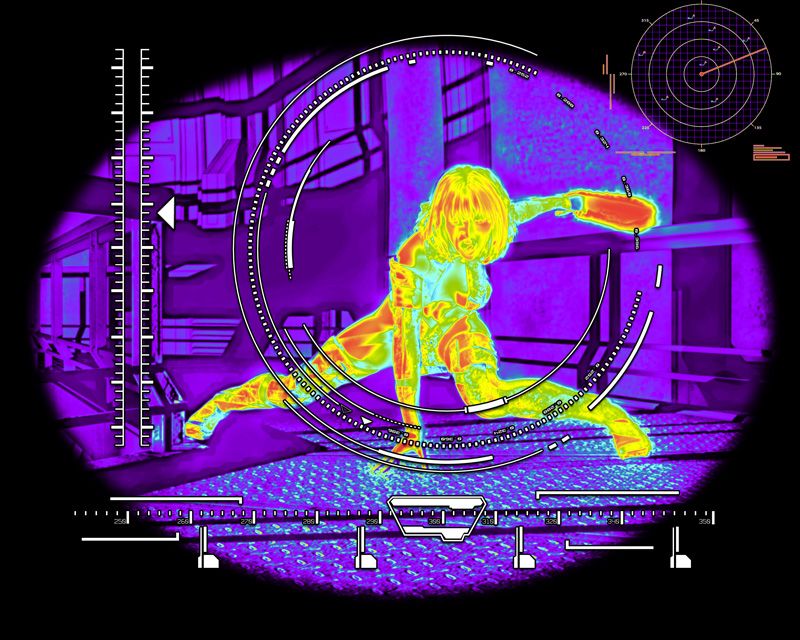
Just for giggles, here’s the image using the other thermal gradient map.
This one uses eight stops like the FLIR version, and employs a reversed Roy G. Biv spectrum. The result looks pretty cool too, and this is more of the traditional “thermal” imaging we’re used to seeing. Either version would be suitable for whatever illustrative needs one may have.
Hopefully this will get you thinking of other things you can do with the FX Layer Stack. If you come up with something cool, I would love to see it!
CHEERS!

